+86-18898486814
sales@lcrapid.com
1. Not everything can be done with WEDM
Analyze and review the processing drawings, and consider the feasibility of the process method according to the existing processing equipment. For example, the processing cannot be realized under the following conditions:
The narrow gap is smaller than the diameter of electrode wire plus discharge gap. No R angle in the interior angle of the figure, or the workpiece whose R angle required by the inner angle is smaller than the diameter of electrode wire. Workpiece made of non-conductive material. The thickness of the workpiece exceeds the span of the wire electrode frame. The workpiece whose processing length exceeds the effective stroke length of the X and Y carriages of the machine tool and whose precision is required to be high.
Under the condition of meeting the requirements of WEDM, the medium WEDM or slow WEDM should be selected according to the machining requirements of parts, such as surface quality and dimensional accuracy. For parts require high dimensional accuracy and good surface roughness, slow WEDM should be used.
In these preparations, the medium WEDM is too dirty, so, slow WEDM should be adopted.

1) Reasonable selection of workpiece material
In order to reduce the workpiece deformation caused by WEDM, the materials with good forging performance, good permeability and small heat treatment deformation should be selected. The workpiece material should be heat treated normatively according to the technical requirements.
2) Process the threading hole
For the processing of closed holes and some punch holes, threading holes need to be processed before the WEDM. The position of threading hole should be consistent with the processing starting point specified in programming.
3) Choose the type of electrode wire
Generally, molybdenum wire with a diameter of 0.18 mm is used as electrode wire for medium WEDM; brass wire and galvanized wire are generally used for electrode wire of slow WEDM. The diameter of electrode wire can be selected according to the requirements of processing accuracy, and the electrode wire with diameter not less than 0.2mm shall be selected as far as possible to obtain higher cutting speed and reduce the risk of wire interruption during processing.
4) Clamping and calibration of workpiece
According to the processing shape and size of the workpiece, the appropriate clamping method shall be selected to determine the position of the workpiece. If the clamping methods of plate parts, rotary parts and block parts are different, special or self-designed clamping can be selected to clamp the workpiece. After the workpiece is clamped, calibration should be carried out. Generally, the perpendicularity and flatness of the workpiece clamping should be checked, and the axial parallelism between the workpiece datum plane and the machine tool should be calibrated.
5) Threading and wire calibrating
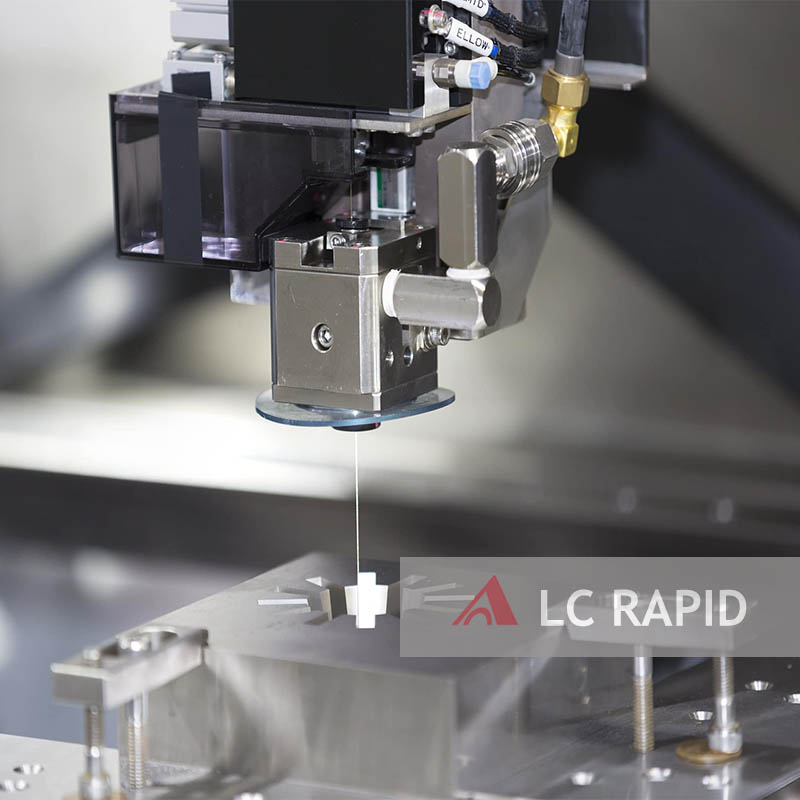
The electrode wire should be correctly wound in each part of the WEDM machine to maintain a certain tension of the electrode wire. The perpendicularity of the electrode wire can be calibrated by using suitable methods, such as calibration with wire alignment, and spark calibration.
6) Positioning of electrode wire
Before WEDM, the electrode wire should be accurately positioned to the initial coordinate position of cutting. The adjustment methods include ocular estimate, spark method, automatic alignment, etc. At present, the CNC WEDM machine tools have the function of contact perception, automatic edge finding, automatic center finding and other functions. The alignment accuracy is high, and it is very convenient for electrode wire positioning. The operation method varies with the machine tool.
2. Programming: use high-tech software to generate code
WEDM programming is the focus of the whole process. The processing of machine tool is according to the CNC program. The correctness of the program directly affects the shape and precision of machining. Automatic programming is mostly used in actual production.
Avoid scrap in the processing
After programming and before cutting, the CNC precision machining program should be checked and verified to confirm its correctness. The CNC system of WEDM machine tools provides program verification methods. The commonly used methods are: drawing inspection method, which is mainly used to verify whether there is error syntax in the program and whether it conforms to the drawing processing outline; the other is the non-cutting stroke inspection method, which can check the actual processing situation of the program, check whether there is collision or interference phenomenon in the processing, and whether the machine tool stroke satisfy the processing requirements. It comprehensively verifies the program and machining track route by simulating the dynamic machining situation.
For some dies with high dimensional accuracy requirements and small fit clearance between male and female dies, the sheet material can be used for trial cutting to check the dimensional accuracy and fit clearance. If any non-compliance is found, the procedure shall be corrected in time until it is verified to be qualified. The electrical and non-electrical parameters can be adjusted according to the machining state to keep the best discharge state in the processing. After the formal cutting, do not remove the workpiece in a hurry. Check whether the starting and ending coordinate points are consistent. If there is any problem, take remedial measures in time.